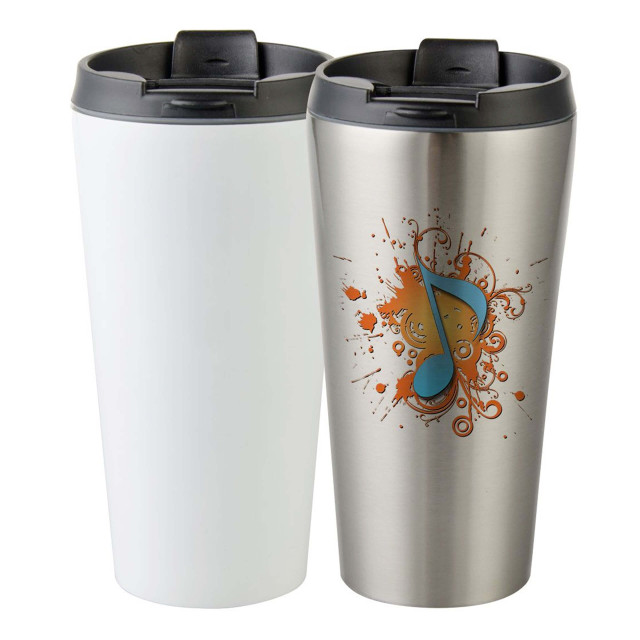
How to Sublimate on a Tumbler
Aug 2nd 2023
Introduction:
Sublimation has revolutionized the customization of tumblers, offering vibrant and durable designs that stand the test of time. In this comprehensive guide, we will walk you through the process of sublimating tumblers using USCutter products, renowned for their quality and reliability. Whether you're a seasoned crafter or a beginner, this step-by-step tutorial will equip you with the knowledge and techniques to create stunning, personalized tumblers that leave a lasting impression.
Understanding Sublimation and Its Advantages
Sublimation is a printing technique that utilizes heat to transfer dye onto specially coated tumblers, resulting in high-resolution, full-color designs. The benefits of sublimation include:
- Premium Print Quality: Sublimation delivers vivid, sharp, and fade-resistant designs, ensuring your creations maintain their brilliance for years to come.
- Versatility: Compatible with various materials, including stainless steel and aluminum, sublimation offers endless possibilities for creating personalized and custom tumblers.
- Personalization: Whether you're crafting gifts, promotional items, or branding your business, sublimation allows for unique and tailored designs.
Essential USCutter Sublimation Tools
Before commencing your tumbler sublimation project, ensure you have the following USCutter products at your disposal:
- Sublimation Blanks: These specially coated tumblers provide the ideal surface for sublimation printing, ensuring optimal image transfer.
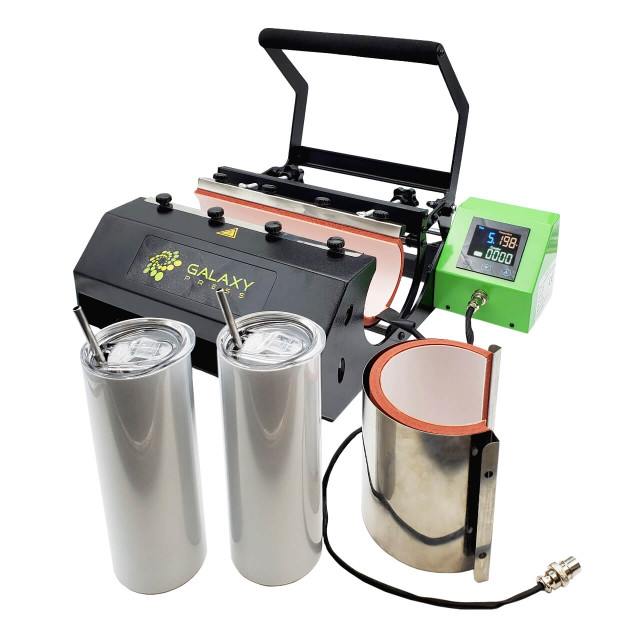
- Tumbler Heat Press: USCutter offers a range of heat press machines, specifically designed to accommodate various tumbler sizes and provide precise and even heat distribution.
- Sublimation Paper: High-quality sublimation paper is essential for printing your designs before transferring them onto the tumblers.
- Sublimation Ink: Ensure you use compatible sublimation ink to achieve vibrant and long-lasting designs.
- Sublimation Wraps: These heat-resistant wraps securely hold the sublimation paper in place during the heat transfer process.
Preparing Your Tumbler Design
A well-prepared design is the foundation of a successful sublimation project. Consider the following design ideas:
- Personalized Tumblers: Incorporate names, monograms, or initials to create unique tumblers for personal use or thoughtful gifts.
- Custom Tumblers: Showcase your brand or artistic flair by designing tumblers with logos, artwork, or inspirational quotes.
- Tumbler Design Templates: USCutter offers ready-to-use templates that you can customize and tailor to your specific preferences.
Step-by-Step Tumbler Sublimation Process
Step 1: Printing Your Design
Using professional graphic design software, create or import your design, ensuring it aligns with the tumbler's dimensions. Print the design onto the sublimation paper using the compatible sublimation ink.
Step 2: Preparing the Tumbler
Thoroughly clean the tumbler's surface with isopropyl alcohol to remove any debris, oils, or contaminants that may hinder the sublimation process.
Step 3: Securing the Sublimation Paper
Wrap the sublimation paper tightly around the tumbler, aligning the design precisely. Use sublimation wraps or heat-resistant tape to secure the paper in place.
Step 4: Heat Press Sublimation
Preheat your tumbler heat press to the recommended temperature for sublimation. Place the wrapped tumbler into the heat press, ensuring proper centering. Apply firm pressure and set the timer based on the manufacturer's instructions.
Step 5: Unveiling Your Design
Once the timer expires, carefully remove the tumbler from the heat press and allow it to cool. Gently peel off the sublimation paper to reveal your professionally printed design!
Troubleshooting Tips
Experienced sublimation practitioners encounter challenges at times. Here are some troubleshooting tips to overcome common issues:
- Faded Colors: Verify that the heat press temperature and pressure settings are accurate for your specific tumbler.
- Blurry Designs: Ensure the sublimation paper is securely wrapped around the tumbler to avoid smudging during the heat transfer.
- Uneven Transfers: Consistently check that your heat press offers uniform heat distribution across the entire tumbler's surface.
Unleash Your Creativity and Customize!
Armed with the knowledge of tumbler sublimation, it's time to unleash your creativity! Experiment with diverse design ideas, explore various sublimation blanks, and discover USCutter's extensive range of sublimation products to elevate your crafting endeavors.
Conclusion
Sublimating tumblers with USCutter products is an enjoyable and rewarding endeavor, enabling you to transform ordinary tumblers into captivating personalized works of art. Understanding the sublimation process, utilizing quality USCutter tools, and exploring creative design ideas empower you to craft tumblers that leave a lasting impression on your clients, loved ones, or even yourself.
FAQs (Frequently Asked Questions)
- Can sublimation be applied to any tumbler? Sublimation is compatible with tumblers specially coated for the process. Ensure you use designated sublimation blanks for optimal results.
- Is a dedicated tumbler heat press necessary? While standard heat presses can be adapted, a dedicated tumbler heat press ensures precision and ease of use.
- Can I sublimate multiple tumblers simultaneously? For consistent quality, it is recommended to sublimate one tumbler at a time, ensuring proper heat and pressure application.
- Are sublimated tumblers dishwasher-safe? Yes, sublimated designs are permanent and can withstand dishwasher use without fading or damage.
- Can sublimation be applied to other items beyond tumblers? Absolutely! Sublimation can be utilized on a wide array of items such as mugs, phone cases, apparel, and more, expanding your creative possibilities.


